Today my daughter and I had some time on our hands while Mr LetsTryThisAtHome took our son swimming. It was time to put my money where my mouth is, and make a start on my new vow to introduce the children to crafting activities. But where to start? It needed to be something I could do with ‘assistance’ from a two year-old, whose initial enthusiasm to help was unlikely to be equalled by her attention span or fine motor skills.

Ready and waiting
In our front garden (and, to be honest, all over our back terrace too) are piles of sticks that my son insists on collecting whenever we go for walks in the woods by our house. They have been waiting patiently to be incorporated into a mini project.
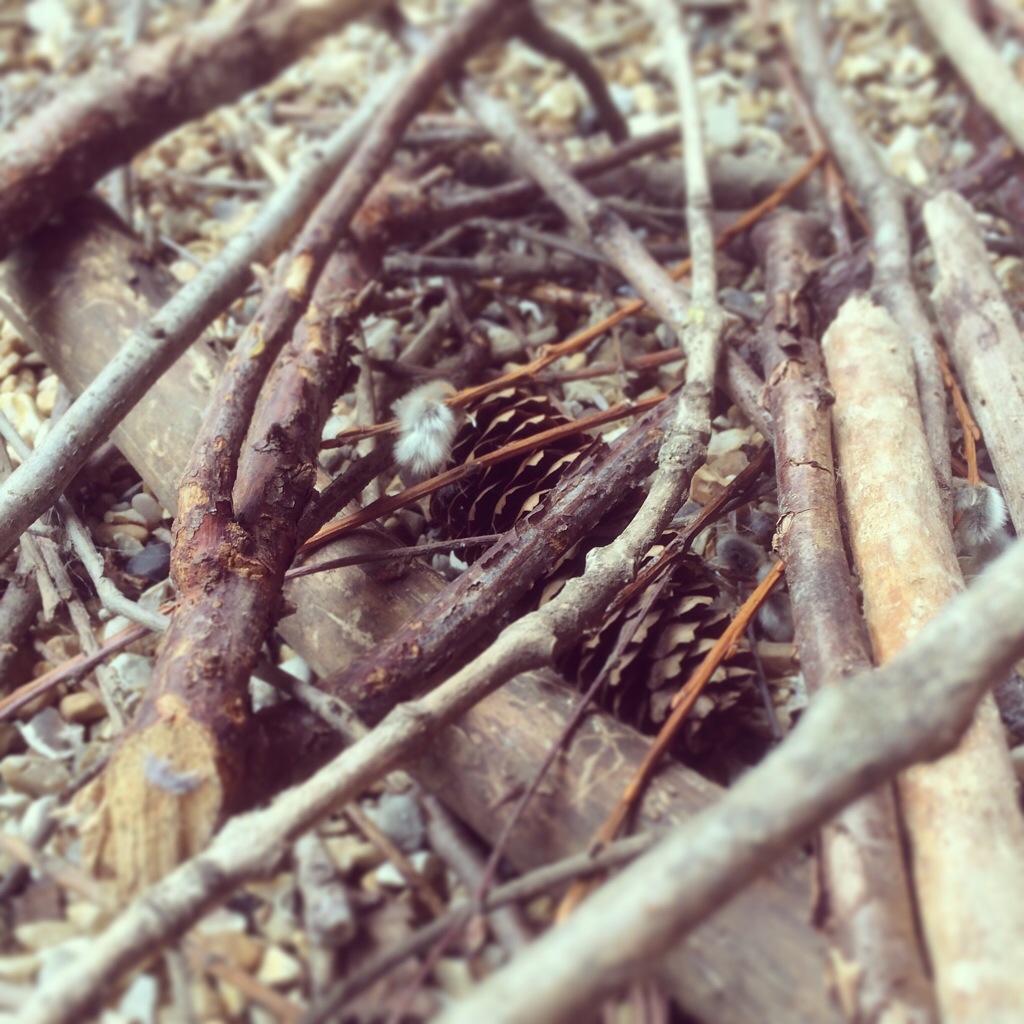
So the idea for the bird mobile was born. It would use some simple skills that a toddler could help with, would not be too time-consuming, and – most importantly – would use up some of those sticks.
We started off by selecting some sticks to use for the hangers, and some coloured craft paper for the birds. We chose sticks that were not too heavy and that were all of a similar thickness.

Paper, scissors, sticks, string and glue
These are the things we needed:
- Scissors
- Card to make a template
- Coloured sheets of craft paper
- Sticks
- String
- Glue dots
- Glue stick
Then we needed to make our birds. We used a bird-shaped sticker as a guide to make a template. We stuck it to a piece of cardboard, drew round it and cut it out.
Making the template
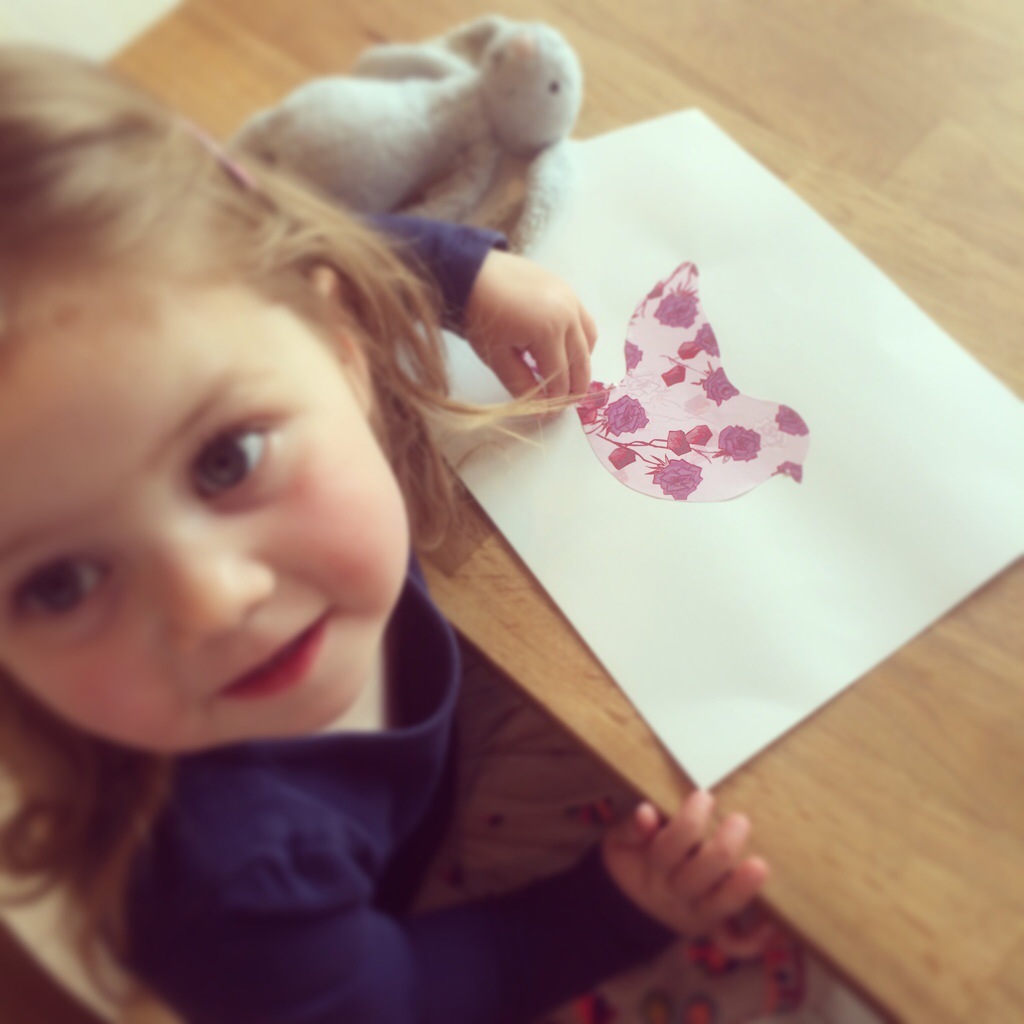
Then we took our first design of craft paper for bird number one. We took two identical pieces of paper and placed them back-to-back with the patterned sides together. We drew round the bird template, then cut round our drawn lines, with the paper still sandwiched together. Then we used a glue-stick to cover the reverse side of one of the birds (this is the part that even very young children can help with).

Small hands can help with gluing
Onto this we stuck one end of our string – like this:

Positioning the string
Then we placed the second side of the bird on top, to make a bird on a string. It looked like this:
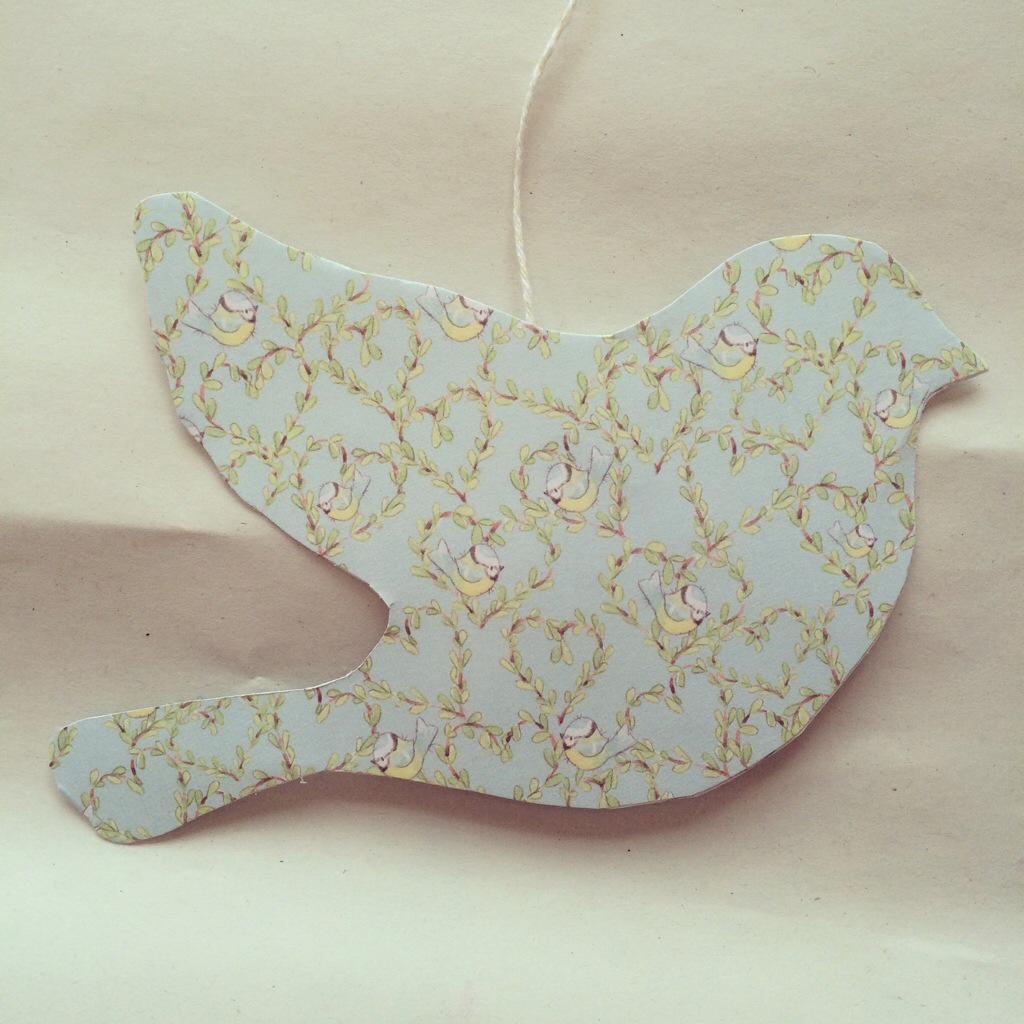
Bird on a string
We repeated that four more times with differently patterned craft paper. We also used the same technique to make some leaf shapes.
Now we were ready to attach the sticks to each other with string, to make our frame. We cut lengths of string and secured the end of each piece to the end of a stick with a glue dot, and wound it round. We didn’t tie it off with a knot just yet, in case the strings would need shortening or lengthening to help the mobile balance.
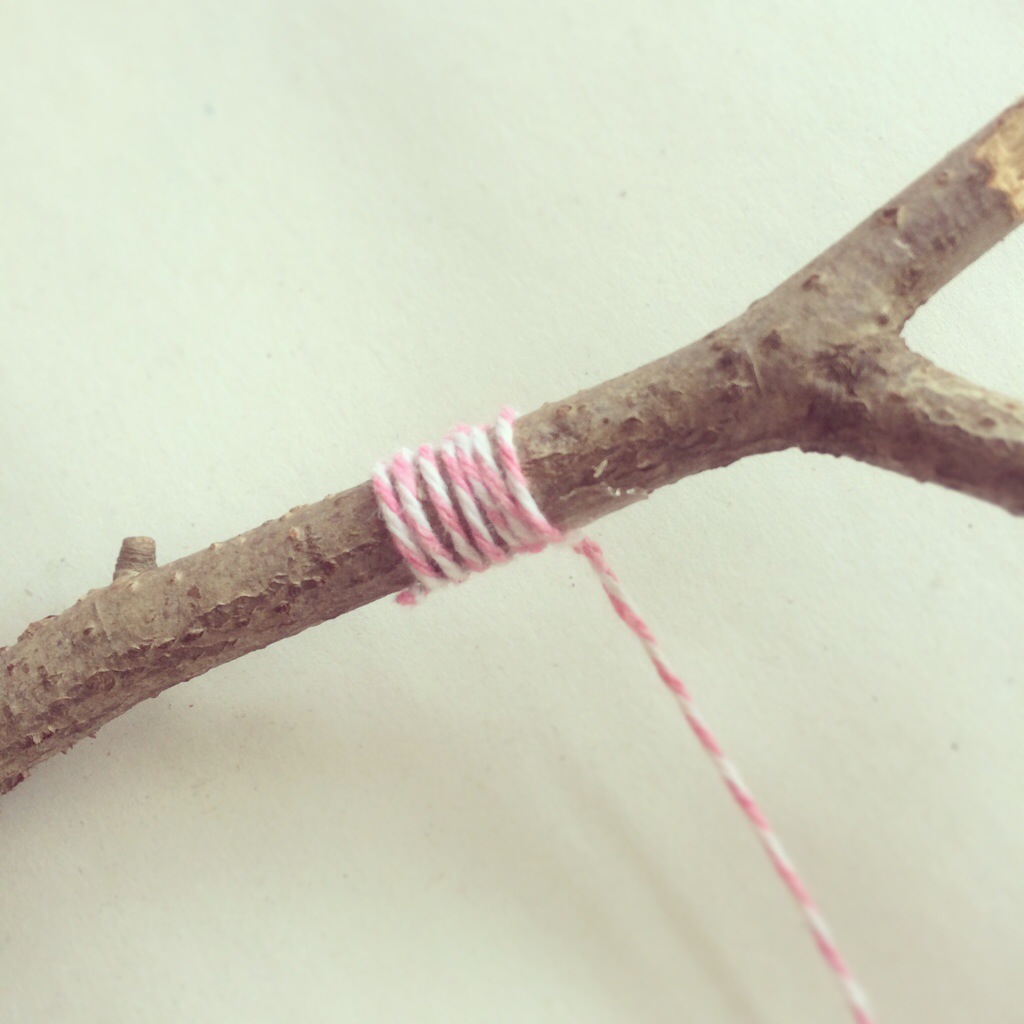
Adding string to stick
After building the frame, we attached the birds too, and that’s where the tricky part started – getting the mobile to hang straight. We hung it up from a hook, and it was completely lop-sided. It took a while to persuade it to hang straight, by winding some of the lengths of string round more, and some less, until it was balanced, like this:

Nearly there
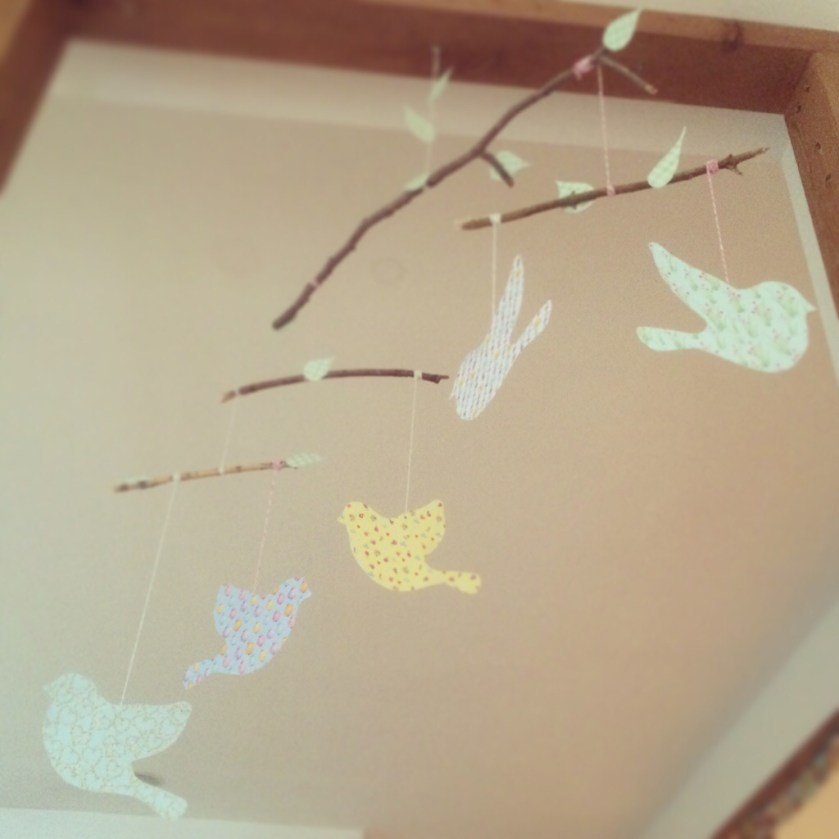
Once we were happy with how it looked, all we had to do was to knot the strings in place and trim off the excess. Lastly, we stuck the leaves on with glue dots. Here is the finished article!
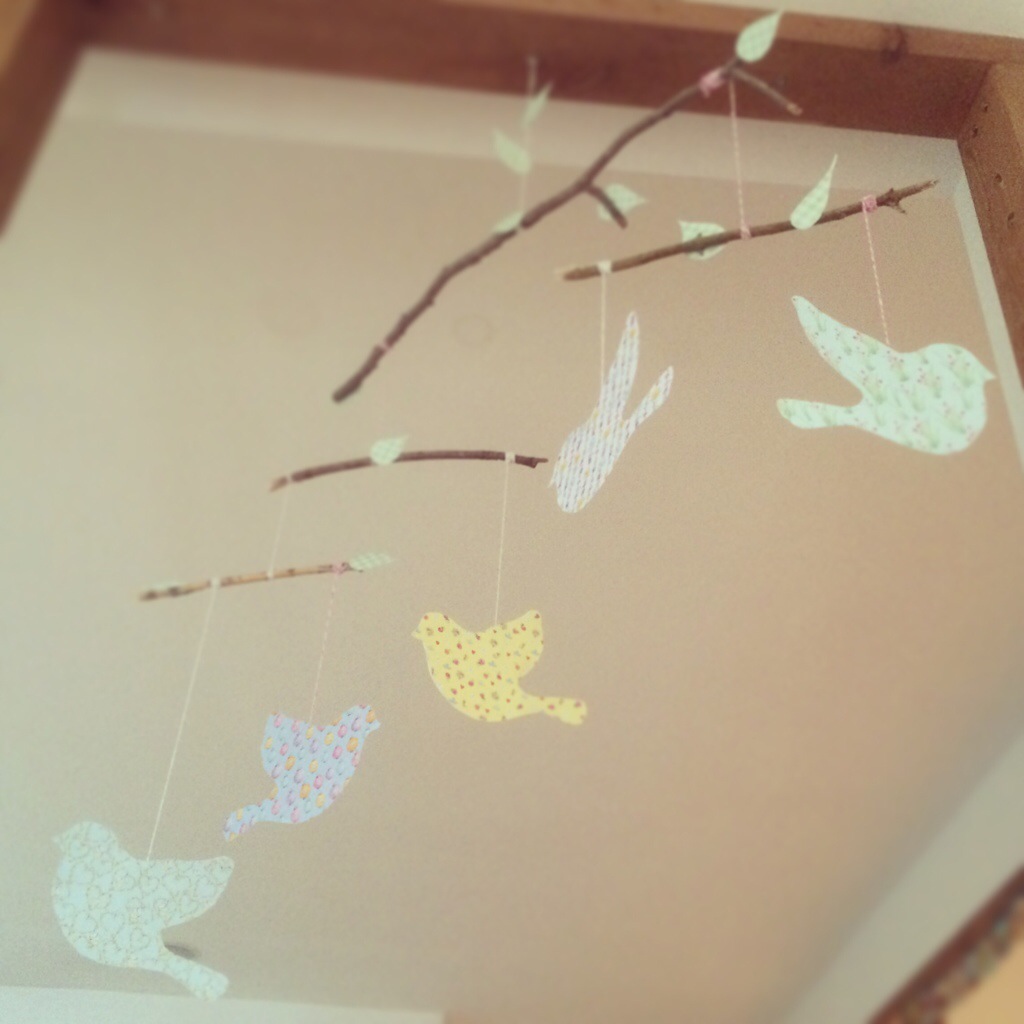
Our finished bird mobile
All that remains to do is to hang it in my daughter’s room. Our chief stick-collecter was very impressed, and has requested a car-themed mobile for his bedroom next!
I have linked up this post to the Monday Parenting Pin It Party #66 here:
![]()

So very pretty! Thanks so much for linking up to the Monday #pinitparty. I have pinned 🙂
LikeLike