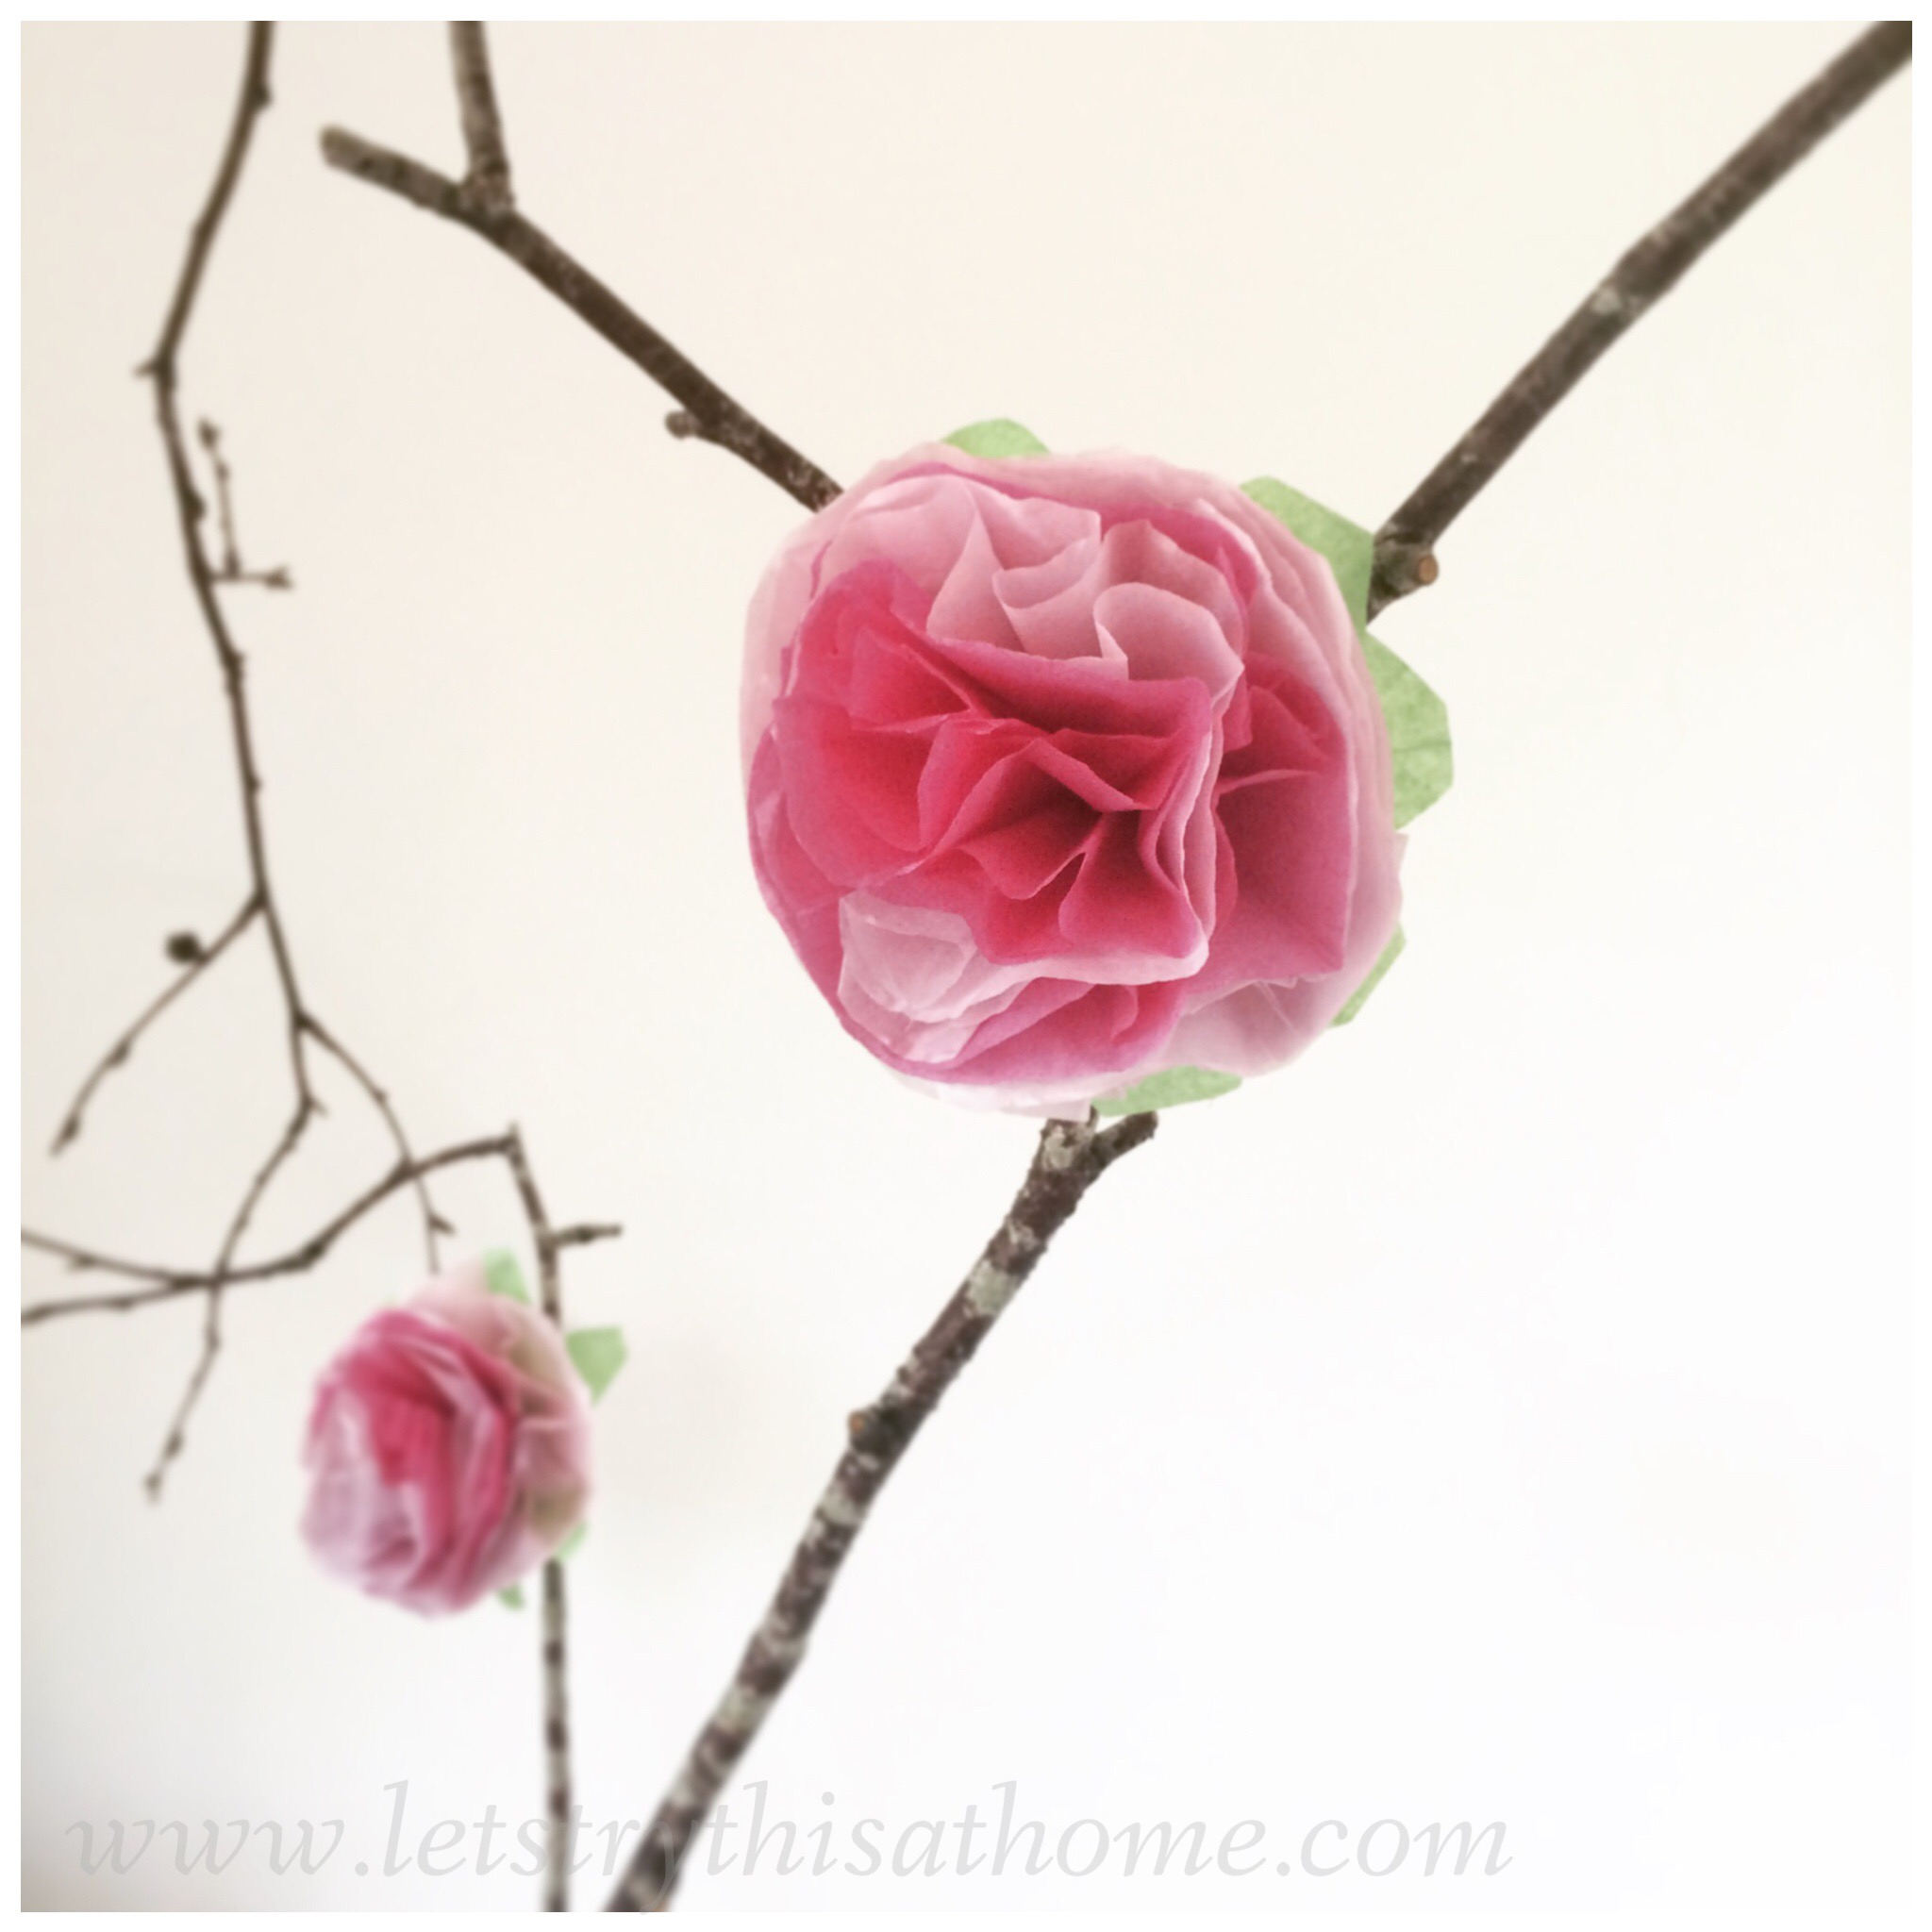
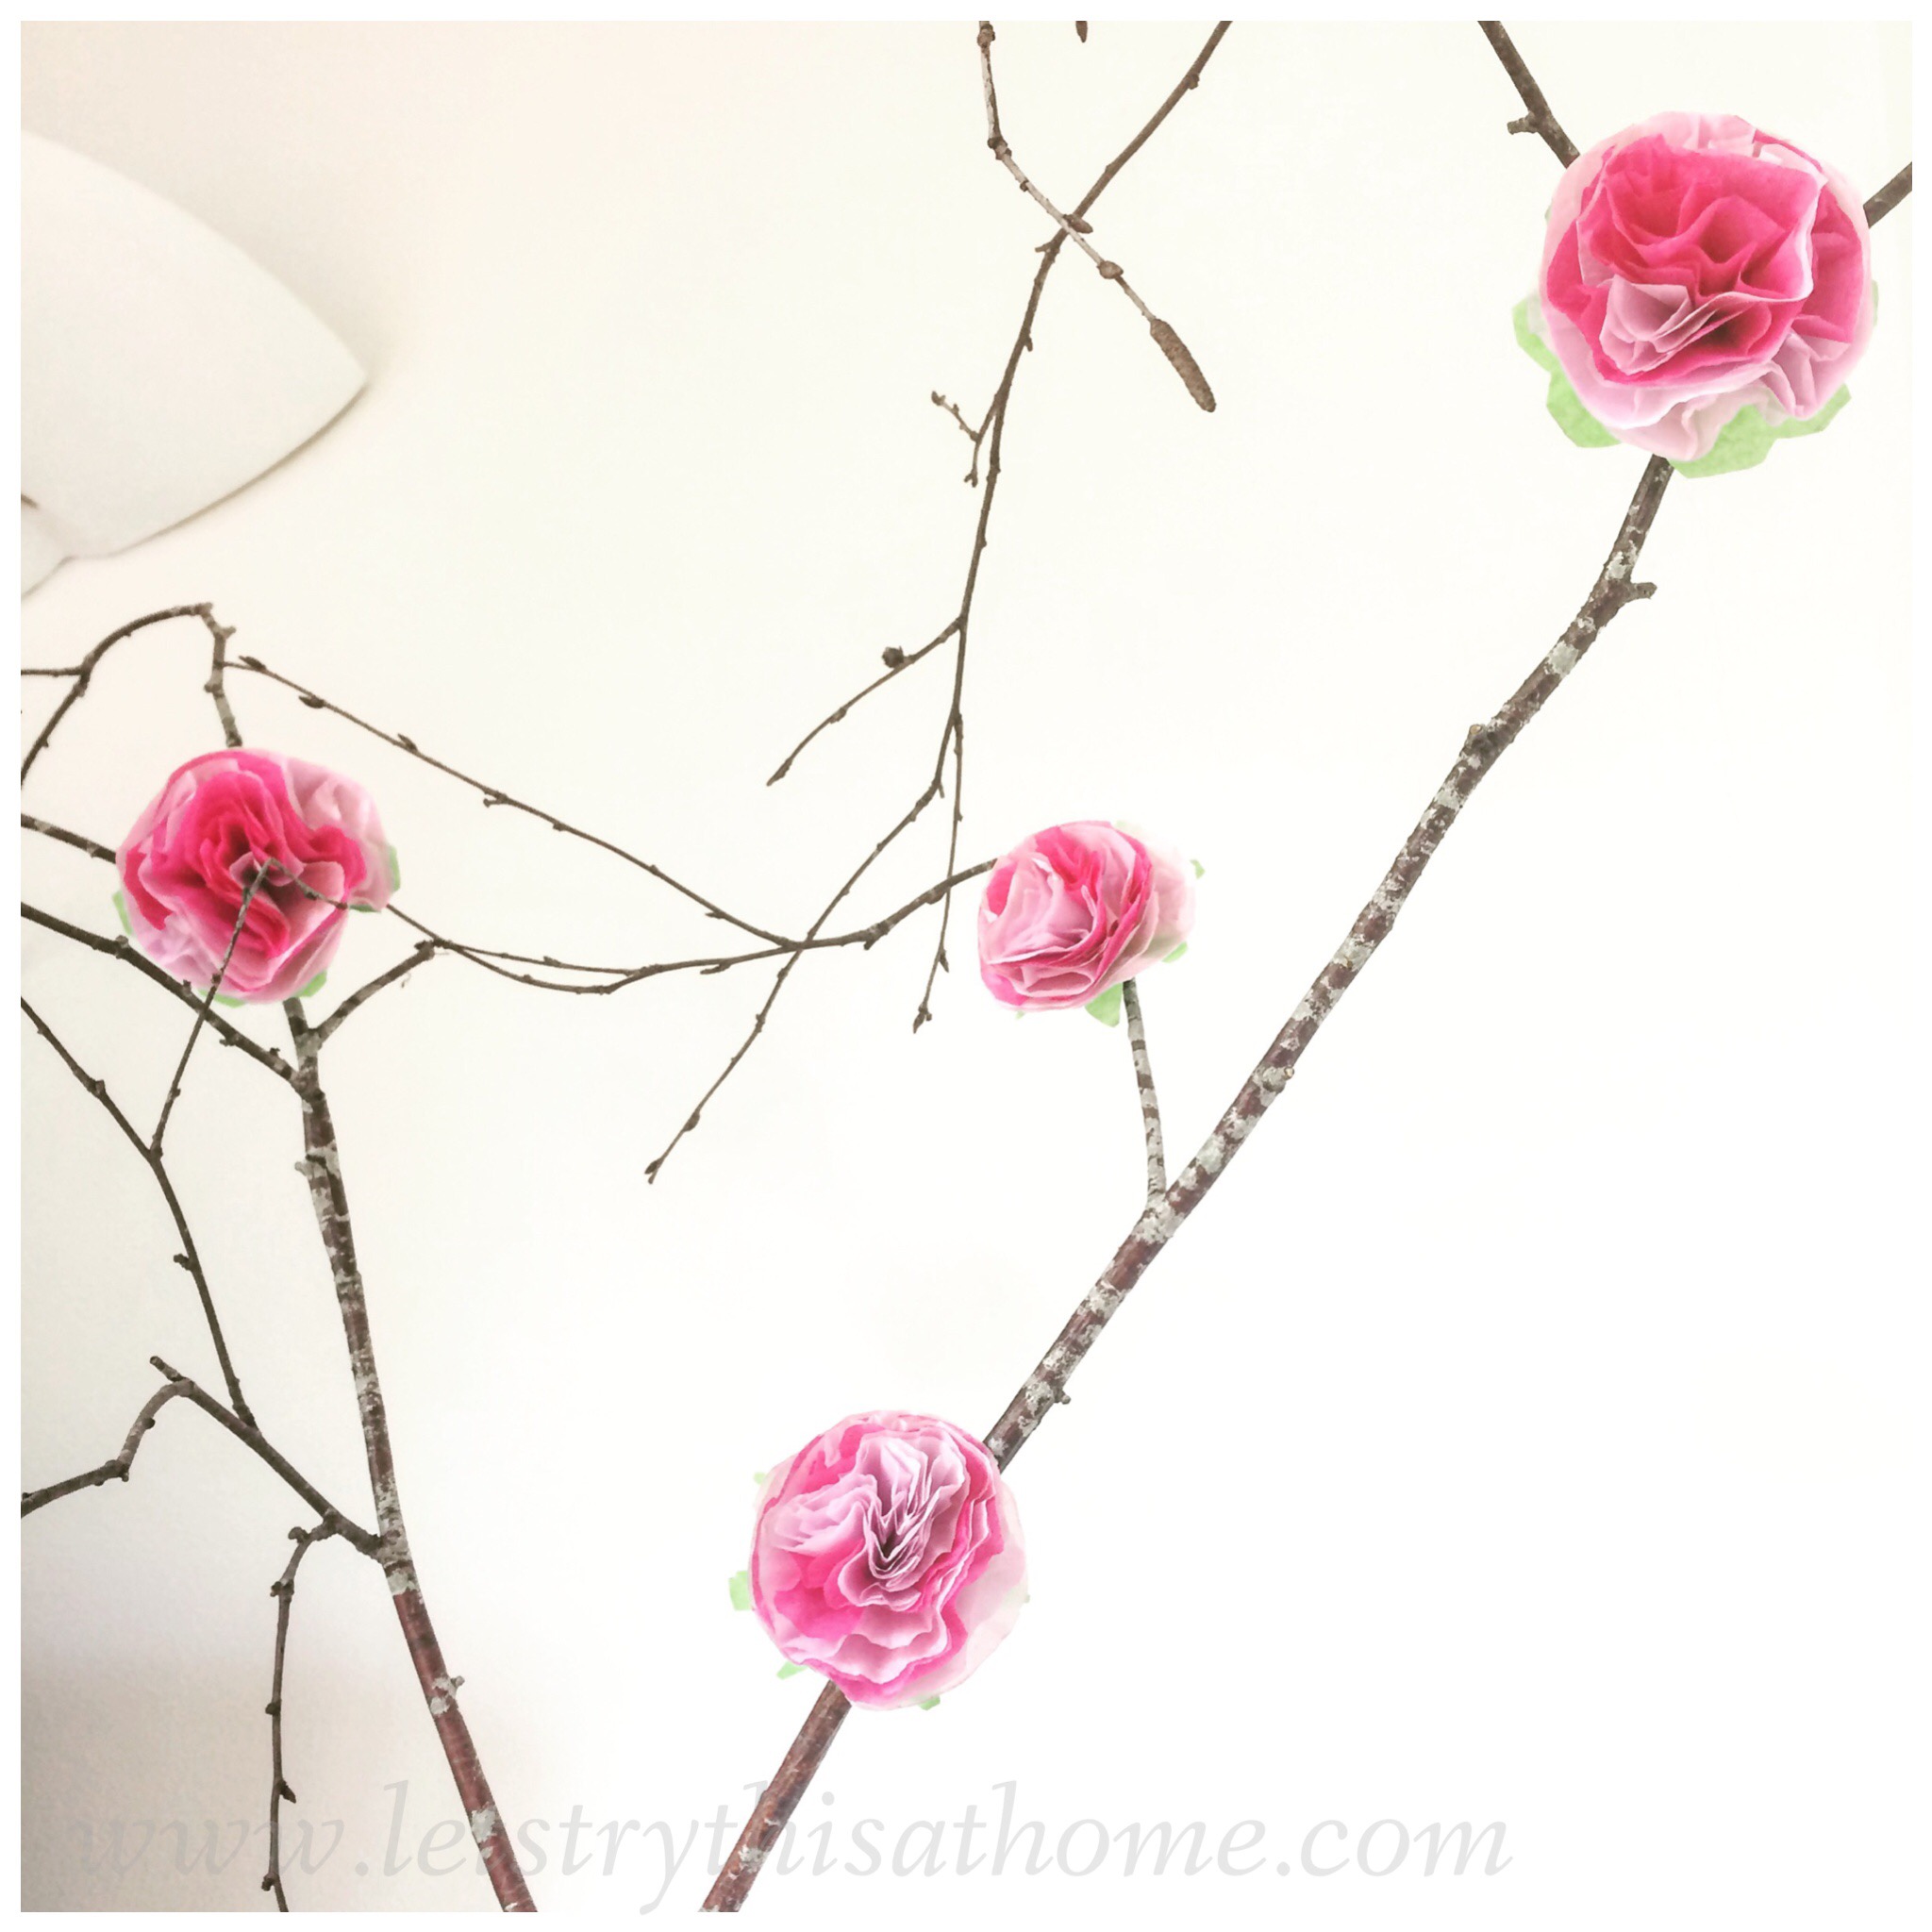
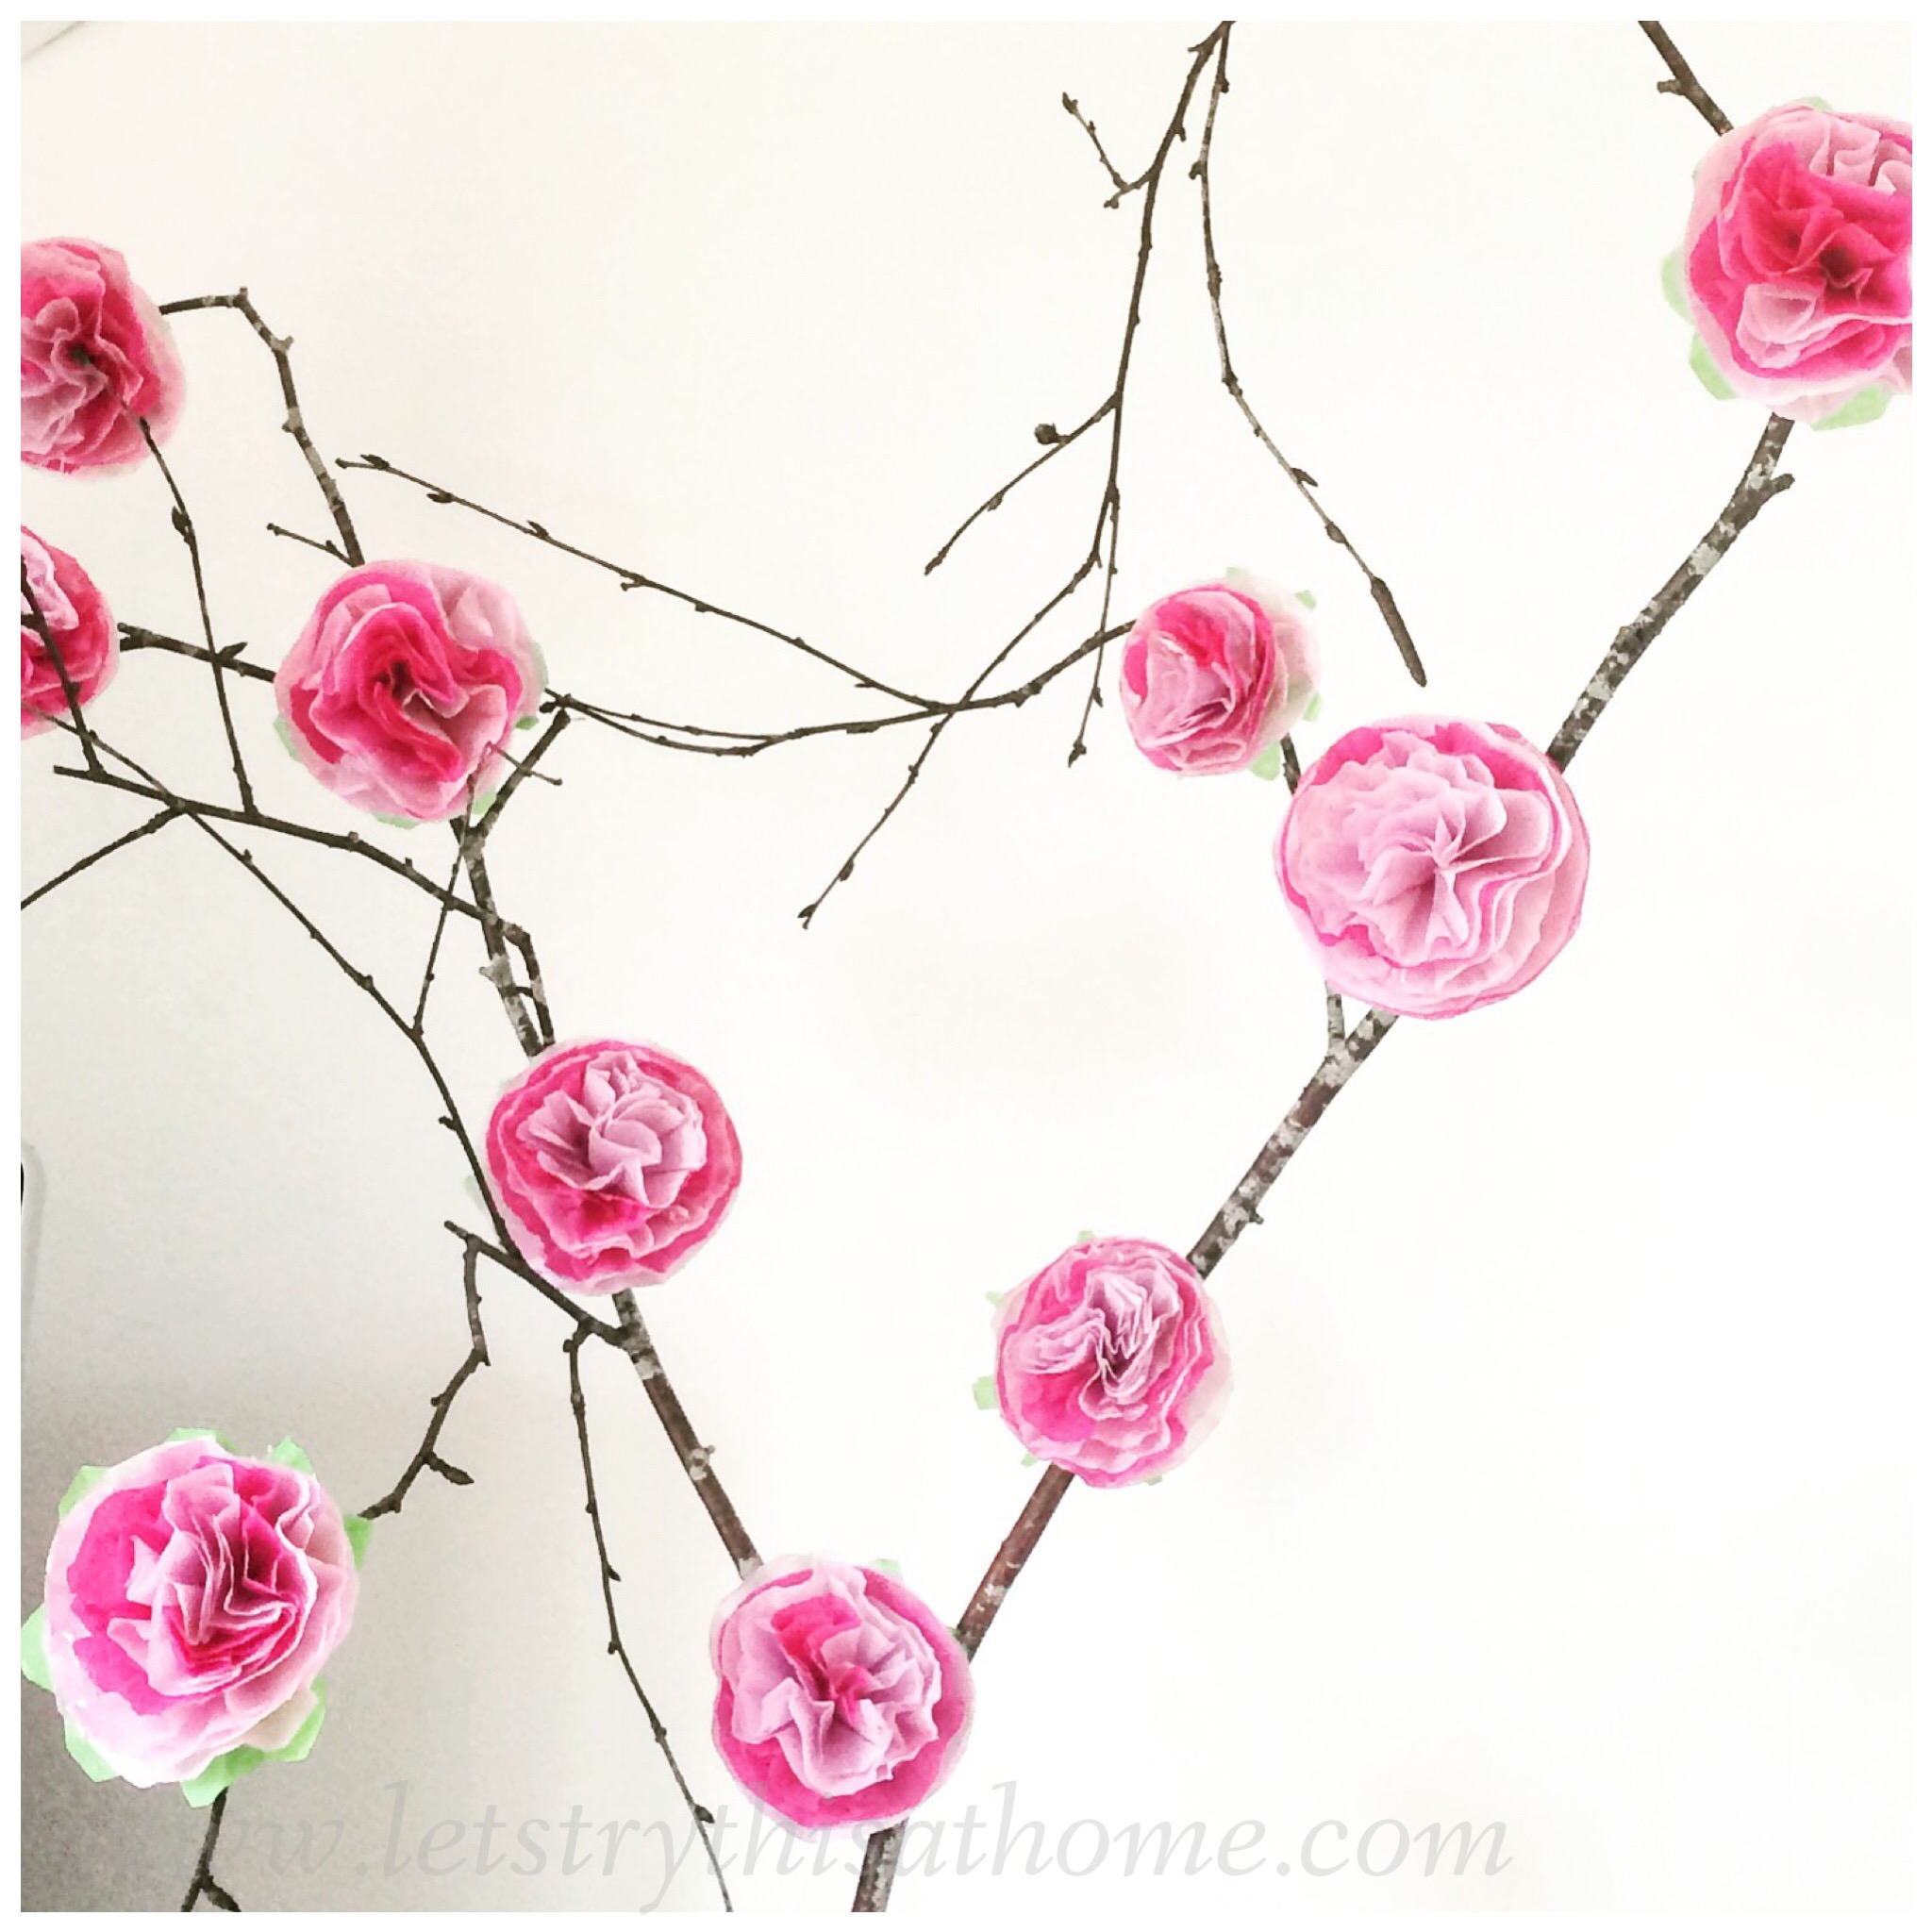
Our season tree project got derailed when Bird Girl took such a shine to April’s incarnation – the rainbow tree – that any attempt to redecorate it was met with howls of protest. The rainbow tree now has pride of place in Bird Girl’s bedroom, and for a while I contemplated calling time on the tree-decorating over the summer months, while more exciting and demanding projects, like our vegetable patch, kept us busy. But when a twiggy branchlet got dislodged from our beautiful old silver birch tree, it seemed a shame for it to go to waste, so the seasonal tree project has been revived.
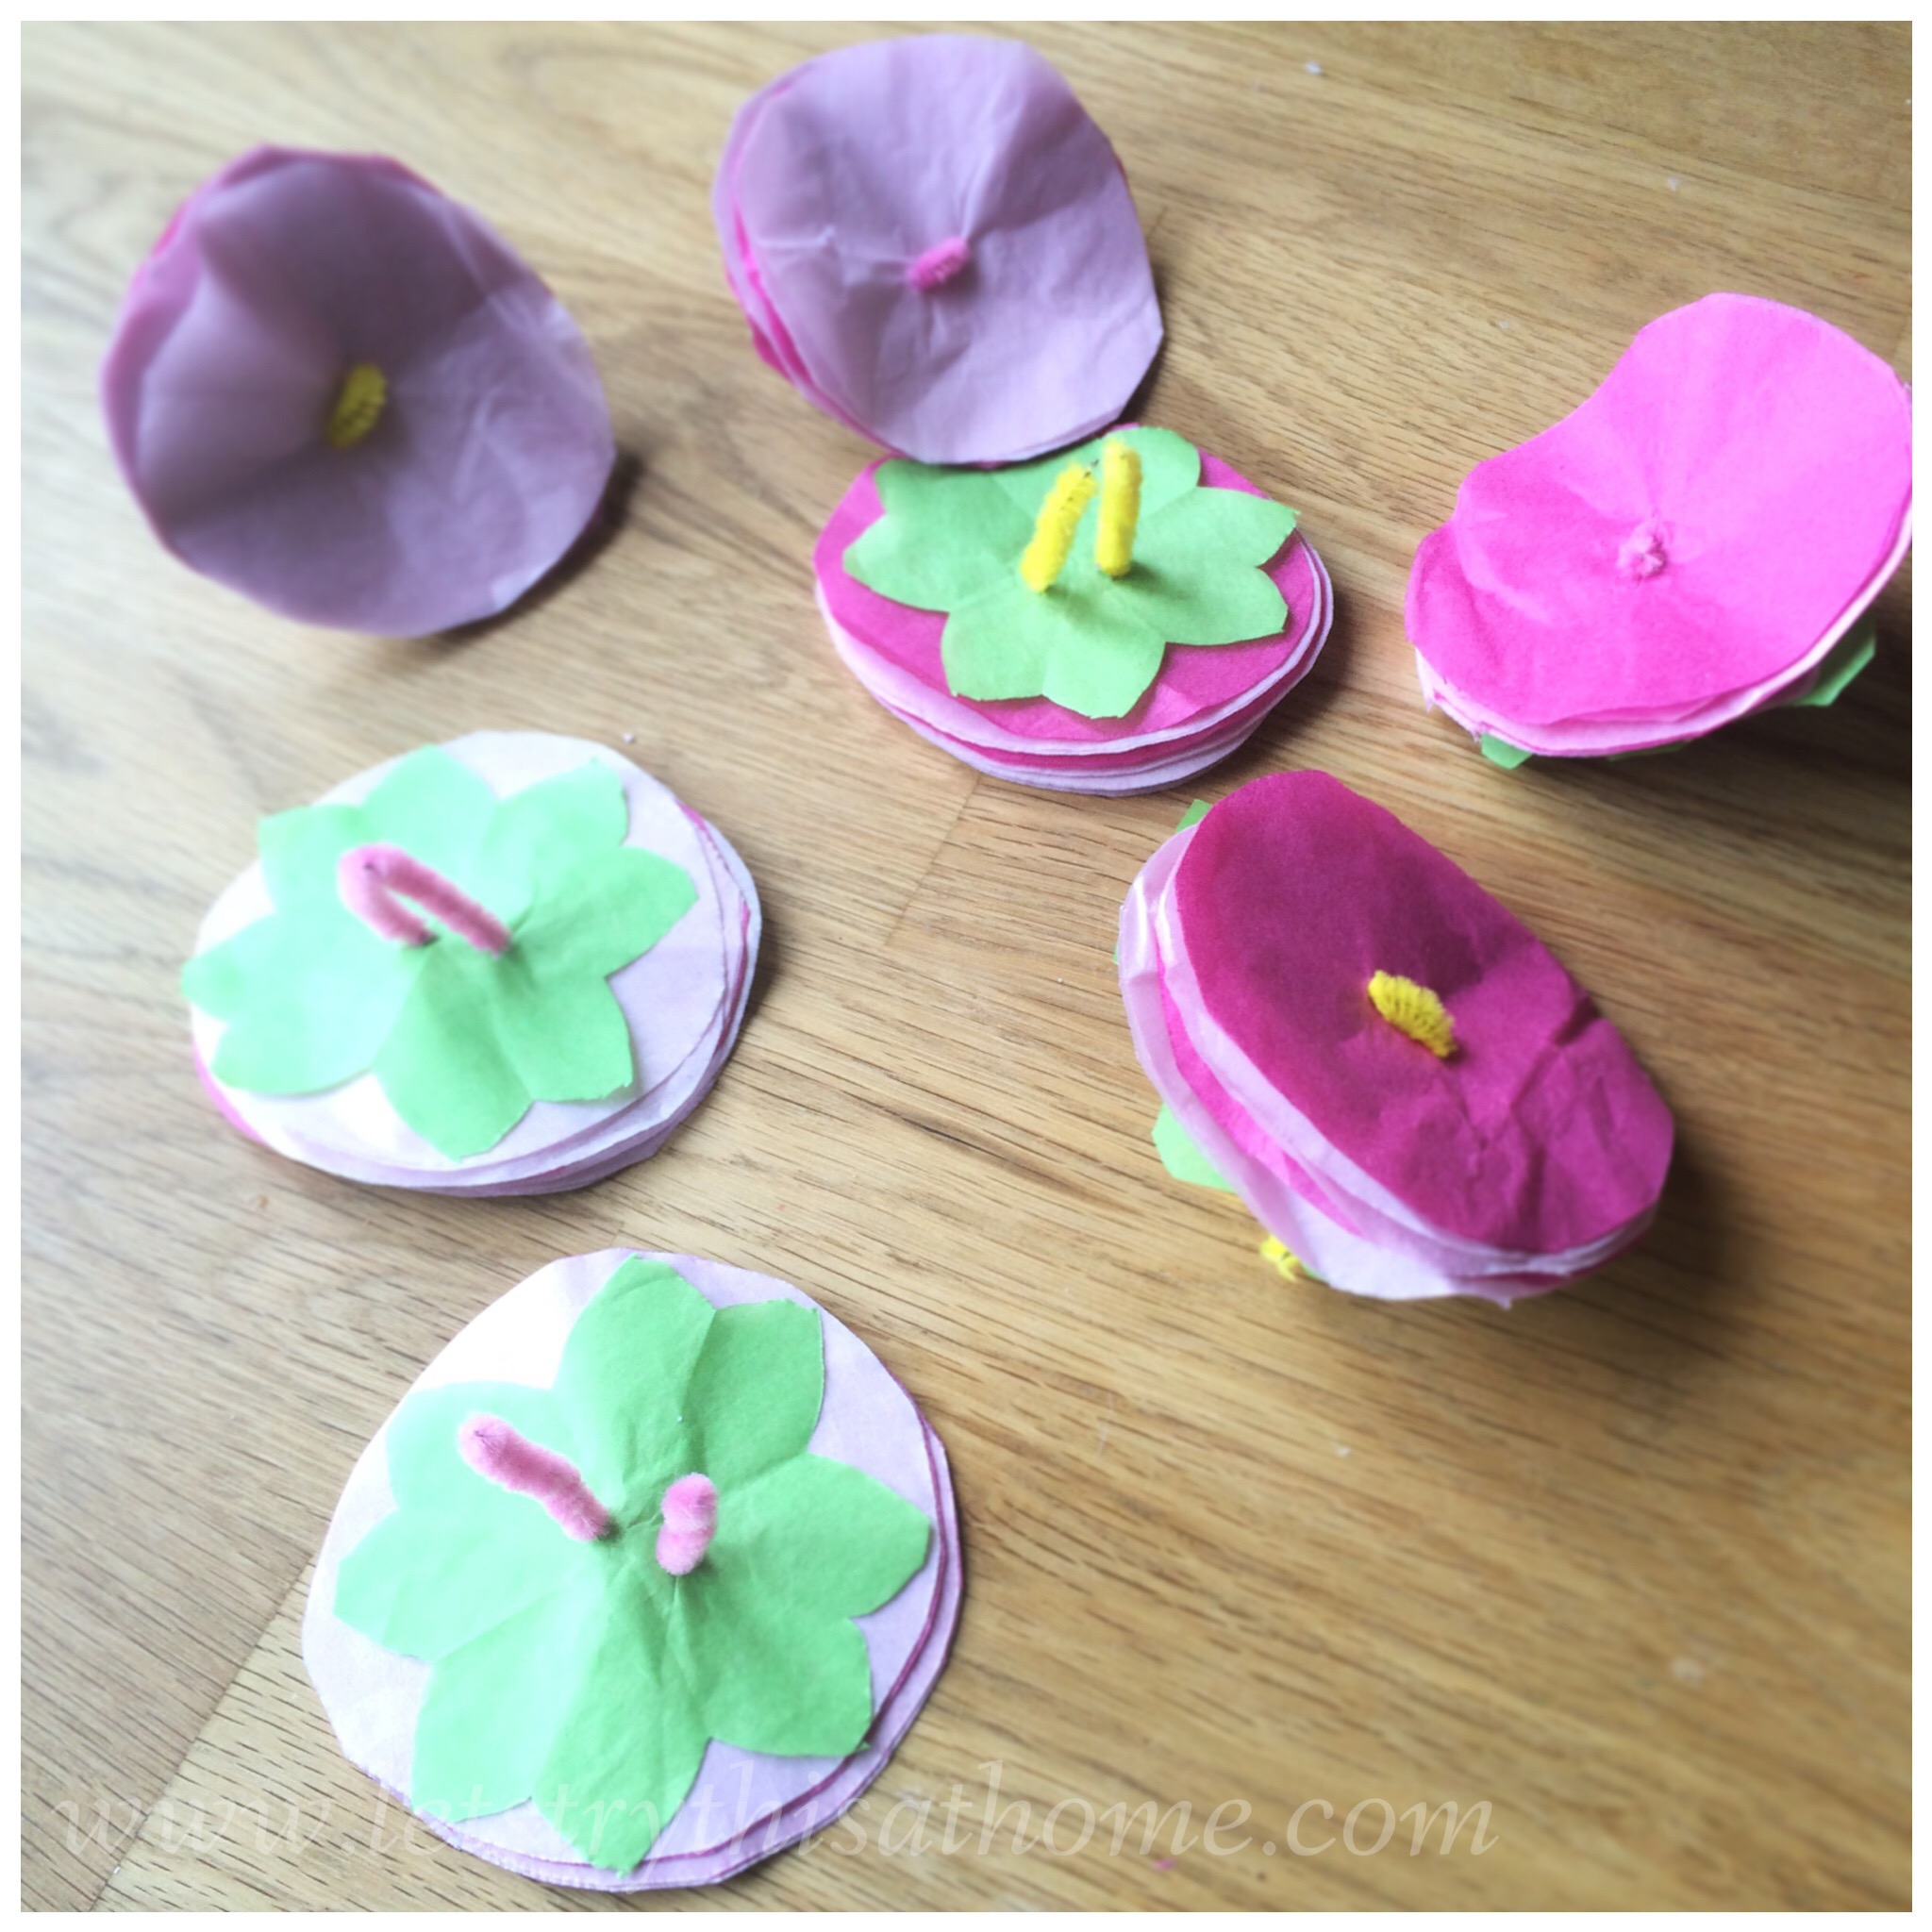
Summer means flowers, so what better way to re-start than with some rather fetching pink paper ones? These were so easy to make – all we needed were a couple of sheets of tissue paper in two shades of pink, a pair of scissors, a glass to draw round and some pipe-cleaners.
Here’s how we made them (this is a really great craft to let small children try, although an adult will need to do / help with stage 3)
- Place your two sheets of paper together and fold them several times to create several layers (as many layers as you think your scissors can happily handle).
- Place the glass on top of the tissue paper and draw round it.
- Cut out the circle shape, and then carefully use the points of the scissors to make two small holes near the centre of the flower, about 1cm apart. You can optionally add a bit of green tissue at the back if you like.
- Bend your pipe cleaner into a U shape and poke it through the holes and twist to secure at the back.

- Gather the tissue circle together one layer at a time, to build up the flower shape.
- That’s it! Make lots, and string into a garland or attach to a branch. You can also hang them on a mobile or use to decorate gifts… They’re brilliantly easy and really versatile.